There is a specific kind of magic that happens when high heat meets a well-seasoned cast iron skillet. You can almost hear the sizzle of this Teriyaki Chicken Fried Rice before you even take the first bite. Imagine tender chunks of chicken thigh, seared until their edges are dark and caramelized, tossed with grains of jasmine rice that have been fried to a golden, crispy perfection.
This isn’t your average takeout side dish; it’s a masterclass in texture and umami. Each grain of rice is coated in a thick, glossy teriyaki glaze that reflects the light, punctuated by the vibrant orange of diced carrots and the emerald pop of sweet peas. When you serve this, wisps of steam carry the aroma of toasted sesame and fresh ginger straight to your senses, making it look exactly like a gourmet smartphone snap from your favorite foodie influencer.
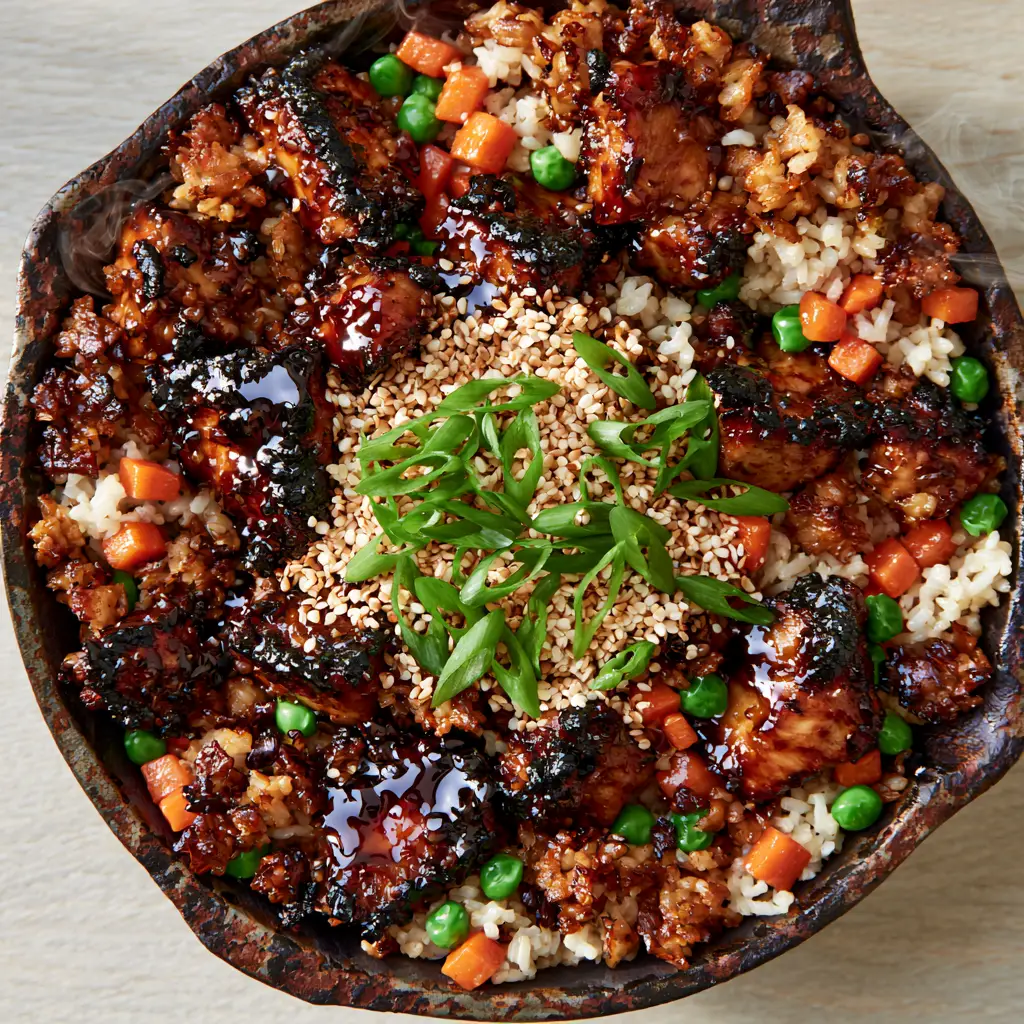
Why This Crispy Teriyaki Chicken Fried Rice Recipe Works
- The Texture Contrast: By using a cast iron skillet, we achieve a mix of soft, fluffy jasmine rice and deeply golden, crispy bits that provide a satisfying crunch in every mouthful.
- The Forensic Glaze: Our homemade teriyaki is engineered to be thick and reflective, ensuring that “glistening” look while delivering a punch of savory-sweet flavor.
- Superior Protein: We utilize boneless, skinless chicken thighs because their higher fat content allows for a hard sear and charred edges without drying out the meat.
- Visual Vibrancy: The combination of bright orange carrots, neon green peas, and fresh scallions creates a high-contrast dish that is as beautiful as it is delicious.
Essential Ingredients for the Perfect Umami Balance
Jasmine Rice: You will need 4 cups (600g) of cooked, chilled jasmine rice. Using day-old rice is the “invisible” secret to success; the dry grains fry individually rather than steaming into a mushy clump.
Chicken Thighs: Use 1 lb (450g) of boneless, skinless chicken thighs, cut into 1-inch (2.5cm) bite-sized chunks. Thighs are essential for achieving those deeply seared, charred edges that define this visual blueprint.
The Glossy Teriyaki Base: A blend of 1/2 cup (120ml) soy sauce, 1/4 cup (60ml) water, 2 tbsp (30ml) mirin, and 3 tbsp (37g) brown sugar. This combination creates the dark, reflective umami glaze that coats every component of the dish.
Aromatic Foundation: You’ll need 1 tbsp (15g) of freshly grated ginger and 3 cloves of minced garlic. These foundational ingredients provide the invisible scent profile that makes the dish irresistible.
The Garden Mix: 1/2 cup (75g) of small-diced carrots and 1/2 cup (75g) of frozen green peas. The carrots provide a structural crunch, while the peas offer a burst of sweetness and color.
Finishing Touches: 2 tbsp (30ml) of neutral high-smoke point oil (like avocado or canola) for searing, and 1 tsp (5ml) of toasted sesame oil for that final aromatic hit.
Visual Garnishes: A heavy hand of 1 tbsp (9g) toasted white sesame seeds and 3 thinly sliced scallions (green parts only). These are the final layers that make the dish “pop” against the rustic black skillet.
Tools to Achieve the Professional Skillet Look
To recreate the visual depth seen in our professional photos, a 12-inch (30cm) rustic black cast iron skillet is highly recommended. The cast iron retains heat better than stainless steel, which is critical for getting those charred chicken edges and crispy rice grains.
A flat-edged wooden spatula is also vital. This allows you to scrape the “fond” (the flavorful browned bits) off the bottom of the pan and incorporate it back into the rice, ensuring no flavor is left behind. If you are looking for more Asian-inspired skillet meals, you might also enjoy our Japanese BBQ Chicken Fried Rice for a different flavor profile.
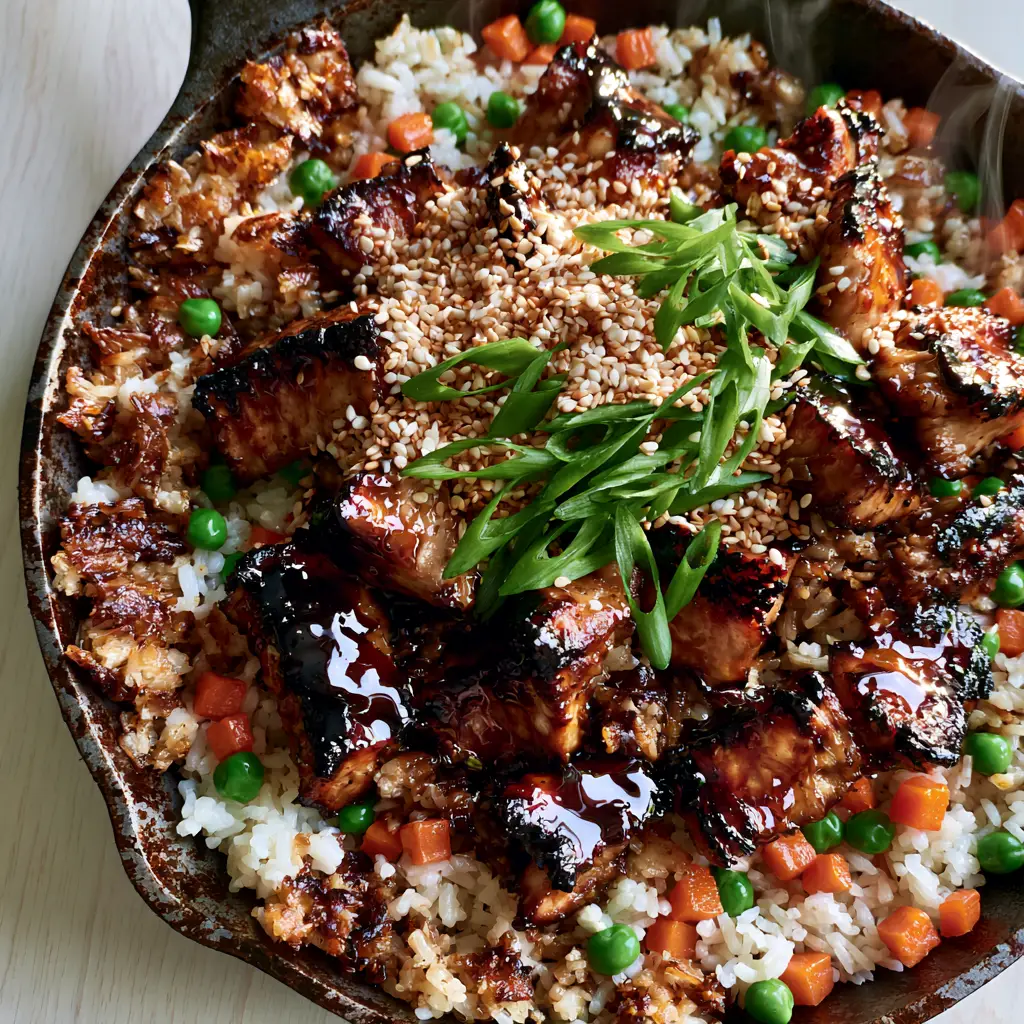
The Secret to Perfect Seared Chicken and Crispy Rice
Step 1: Engineering the Glossy Teriyaki Glaze
In a small saucepan over medium heat, whisk together the soy sauce, water, mirin, brown sugar, ginger, and garlic. In a separate tiny bowl, mix 1 tsp (3g) of cornstarch with a splash of water to create a slurry.
Whisk the slurry into the sauce and simmer for 3-5 minutes. You are looking for a specific visual cue: the sauce should thicken until it coats the back of a spoon and has a dark, mirror-like reflection.
Step 2: Achieving the Perfect Char
Heat your cast iron skillet over medium-high heat until a drop of water dances and evaporates instantly. Add 1 tbsp (15ml) of neutral oil, swirling to coat the bottom of the pan.
Add the chicken thigh chunks in a single layer. Do not crowd the pan! Let them sit undisturbed for 3-4 minutes until a deep brown, charred crust forms on the bottom. Flip and sear for another 3 minutes until fully cooked and glistening with rendered fat.
Step 3: Sautéing the Vegetables
Remove the chicken from the skillet, leaving the flavorful oils behind. Add the diced carrots to the pan, stirring for 2 minutes until they begin to soften but still retain a slight bite.
Add the frozen peas and stir for another minute. The heat of the skillet will turn them a vibrant emerald green almost instantly. If you love fresh vegetable-forward dishes, check out our vibrant mango salad for a refreshing side.
Step 4: The Crispy Rice Transformation
Add the remaining 1 tbsp (15ml) of oil to the skillet, then toss in the chilled jasmine rice. Use your spatula to break up any clumps, spreading the rice across the hot surface.
Press the rice down firmly and let it “fry” undisturbed for 2 minutes. You should hear a distinct crackling sound—this is the moisture leaving the rice and the bottoms becoming golden and crispy. Toss and repeat until you see a beautiful mix of soft white and toasted brown grains.
Step 5: The Final Glaze and Garnish
Return the seared chicken to the skillet. Pour the thickened teriyaki glaze over the rice and chicken. Toss everything vigorously for 1-2 minutes until every grain of rice is dark, glossy, and steaming hot.
Remove from heat and immediately drizzle with the toasted sesame oil. Garnish with a heavy spray of freshly sliced scallions and a generous dusting of toasted white sesame seeds while the wisps of steam are still rising.
Expert Tips for Success
- Rinse Your Rice: Always rinse your jasmine rice under cold water before cooking to remove excess starch. This prevents the fried rice from becoming gummy.
- The “Cold Rice” Rule: Freshly cooked rice is too wet. If you’re in a hurry, spread fresh rice on a baking sheet and put it in the freezer for 15 minutes to dry it out quickly.
- High Heat is Key: Don’t be afraid of the smoke! To get that “wok hei” (breath of the wok) flavor in a skillet, the pan needs to be very hot.
- Balance the Salt: Depending on the brand of soy sauce, you may want to use a low-sodium version to ensure the teriyaki glaze doesn’t become over-concentrated during the thickening process.
Storage, Reheating, and Meal Prep
This Teriyaki Chicken Fried Rice stores beautifully in an airtight container in the refrigerator for up to 4 days. It is a fantastic option for meal prep because the flavors actually deepen overnight.
To reheat, avoid the microwave if possible. Instead, toss the rice back into a hot skillet with a teaspoon of water. Cover with a lid for 1 minute to steam the grains back to softness, then remove the lid to re-crisp the bottom.
What to Serve With This Skillet Meal
While this is a complete meal on its own, you can elevate your dinner spread with some complementary textures. A crisp Thai Mango Salad provides a bright acidity that cuts through the richness of the teriyaki.
If you are looking for a lighter accompaniment, consider a cold rice noodle salad to serve on the side. For those who love a spicy kick, a drizzle of spicy mayo or a side of Buldak-style sauce can add an extra layer of heat.
Frequently Asked Questions
Yes, but be careful not to overcook them. Thighs are preferred for this recipe because they handle the high heat required for charred edges better without becoming dry.
While not strictly required, cast iron provides superior heat retention which is essential for achieving the crispy texture and charred chicken edges shown.
To make it gluten-free, substitute the soy sauce with tamari or coconut aminos and ensure your mirin is certified gluten-free.
Reheat in a hot skillet with a tiny splash of water and a lid for one minute to revive the rice, then remove the lid to let it crisp up again.
Mushy rice is usually caused by using freshly cooked, warm rice. Using chilled, day-old jasmine rice ensures the grains stay separate and get crispy in the pan.
The Best Teriyaki Chicken Fried Rice Recipe
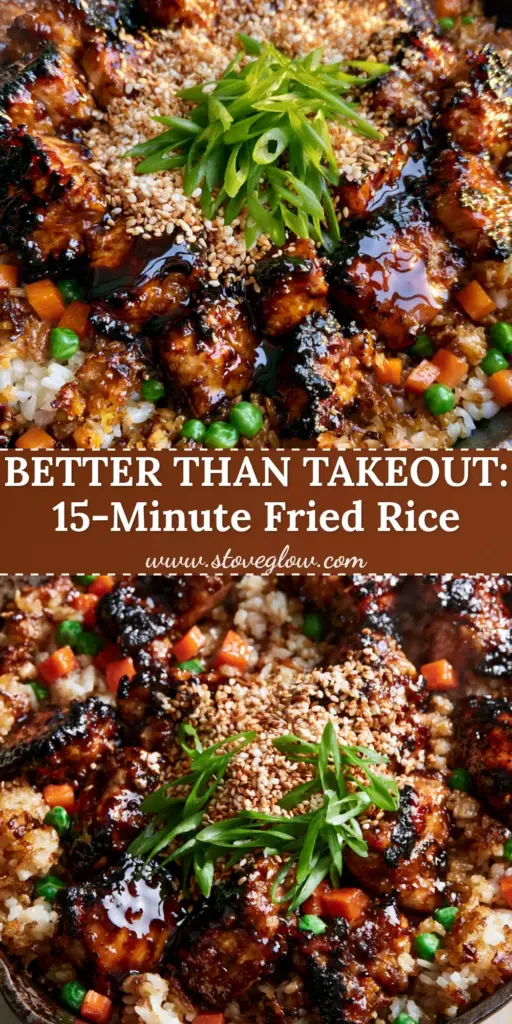
Teriyaki Chicken Fried Rice: The Ultimate Crispy Skillet Recipe
Ingredients
Equipment
Method
- Whisk soy sauce, water, mirin, brown sugar, ginger, and garlic in a saucepan. Simmer with cornstarch slurry until thick and glossy.
- Heat oil in cast iron skillet. Sear chicken chunks until deeply browned with charred edges. Remove from pan.
- Sauté carrots and peas. Add rice to the skillet, pressing down to create crispy golden grains. Toss with seared chicken and glaze.
Notes
Preheat the skillet until very hot for the best char.
Closing & Call to Action
This Teriyaki Chicken Fried Rice is the perfect marriage of culinary science and visual artistry. With its charred chicken edges, glossy sauce, and crispy rice, it’s a dish that tastes even better than it looks. Whether you’re cooking for a busy weeknight or impressing friends, this skillet meal is a guaranteed winner.
If you loved this recipe, please leave a comment below and let me know how your crispy rice turned out! Don’t forget to follow me on Pinterest for more visually stunning recipe inspiration and share your photos with the hashtag #KellyTaste.